

Walking into the nail salon and not having a clue what style or colour to go for always seems to be a common dilemma for us girls...but do not fear, we've decided to put your nail stress at ease and give you the low down on some super stylish nail trends to help see you through the spring/summer season! From matte black, to ombre, to ultra glam, to a pop of colour - there's something for everyone and every occasion!
Black shiny tips with black matte polish

Lilac nails

Pastel orange nails

Matte plum nails

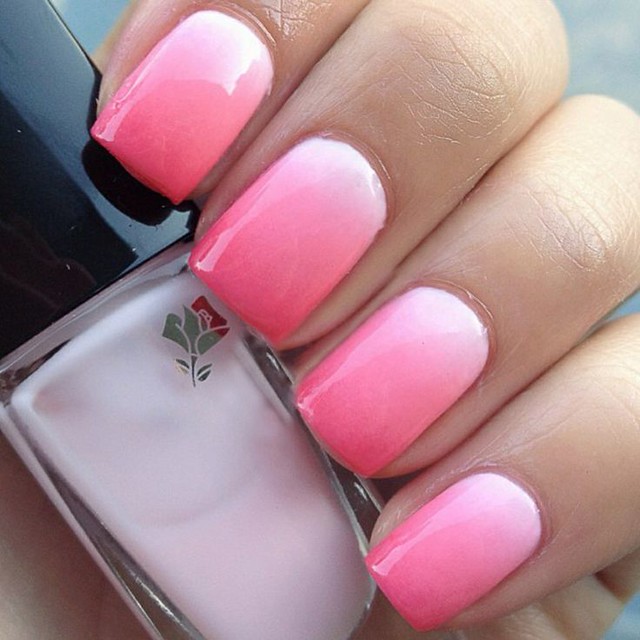
Pink ombre nails
Matte white nails

Sparkly glitter nails

Also - If you are looking for a GOOD quality nail technician then please check out Ellis at The nail bar. The pictures below are of her amazing work so please go over to their twitter page @NailbarLytham and give them a follow. All contact details are below.
The Nailbar
14 Market Square
Lytham, St Anne's
FY8 FLW
The Nailbar
14 Market Square
Lytham, St Anne's
FY8 FLW
www.thenailbar-lytham.co.uk
Contact Number - 01253 731 101
Twitter @Nailbarlytham
Offers
Mani-Q Gel Polish - £20 (lasts 2-3 weeks)
Acrylic Sculpted Nails - £22 (Limited Offer)
Manicure - £20 (includes cuticle work, exfoliation, massage, polish of your choice)
Pedicure - £22 (includes foot soak, cuticle work, exfoliation, massage and polish of your choice)
Baby pink with sparkle nails

Pretty Purple nails

Pink with diamonte nails

Purple sparkle nails

Hope you like them girls!


